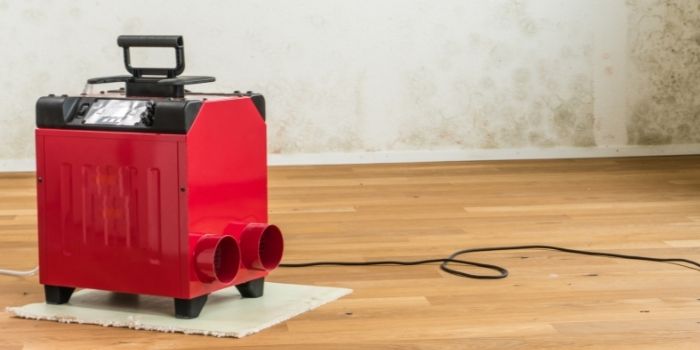
Most dehumidifiers use a simple refrigeration system that collects moisture from the surrounding environment until it is discarded.
The collected water will drain from a hose, effectively moving the water out of the air. This process requires using a refrigerant like Freon.
If you notice that the dehumidifier is losing refrigerant, you’ll also quickly see that it isn’t working at its best.
If the refrigerant leaks out entirely, the dehumidifier won’t be dehumidifying anything whatsoever.
But what causes the refrigerant to leak and smell, and how you can fix the problem – let’s have a look here…
Why is My Dehumidifier Leaking Refrigerant?
A refrigerant is the heart of a dehumidifier’s cooling system—it circulates through the coils, absorbs moisture-laden air, cools it until water condenses, and then releases heat as it returns to the compressor.
A dehumidifier leaking refrigerant usually means there’s a failure somewhere in the sealed refrigeration system. When refrigerant leaks, the entire moisture-removal process collapses.
This is uncommon but serious because the unit can no longer remove moisture effectively once refrigerant escapes.
Here are the main reasons such Freon leaks in your dehumidifier may happen:
1- Coil Corrosion: Copper coils constantly face moisture, dust, and airborne chemicals. Over the years, this can cause formicary corrosion—tiny, microscopic pinholes that slowly allow refrigerant to escape. This is one of the most common failure points that can cause your dehumidifier unit to leak refrigerant.
2- Physical Damage: If the dehumidifier is dropped, dented, or hit during handling or storage, the refrigerant tubing may crack, or joints may loosen. Even small impacts can weaken thin copper lines.
3- Manufacturing Defects: Weak welds, poor brazing, or imperfect copper joints can hold up initially but fail over time due to normal vibration. These defects usually show up within the first few years of operation.
4- Excessive Vibration: A compressor generates constant vibration. If internal components aren’t secured well, these vibrations stress the tubing. Over time, metal fatigue can create cracks at bends or joints, causing a leak.
5- Overheating & High Pressure: Clogged evaporator/condenser coils, a failing fan, or restricted airflow make the system run hotter and at higher pressure. This strain can rupture weak tubing or faulty joints.
6- Corrosive Environments: Homes near coastal areas, pools, or workshops with paints and cleaners expose the coils to corrosive vapors. These environments accelerate metal decay and drastically shorten coil life.
7- DIY or Chemical Damage: Using strong coil cleaners, bending tubes while cleaning, or poking around inside the unit can puncture or weaken the refrigerant lines. Even slight pressure on thin copper tubing can cause micro-cracks.
If you notice any issues such as these or an outright leak, contact the manufacturer of the dehumidifier. Based on the warranty policies, they may be able to help you get the product repaired or even replaced.
However, if your consumer-grade dehumidifier unit is leaking refrigerant, it usually isn’t repair-worthy because fixing sealed systems is costly and requires specialized tools.

How to Check a Refrigerant Leak in a Dehumidifier?
Confirming a refrigerant leak isn’t always straightforward—these systems are sealed, the tubing is thin, and refrigerant often escapes silently over months.
Still, there are a few practical ways to diagnose the issue before calling in a technician.
1. Inspect the Evaporator (Cooling Coil)
Right behind the air intake filter sits the evaporator coil—the cold, moisture-condensing heart of the unit. When the dehumidifier is running, this coil should feel distinctly cool or even frosty.
If it feels room temperature, warms up too quickly, or only part of the coil gets cold, that’s a strong sign the refrigerant charge is low or leaking. An evaporator that refuses to cool is often the earliest symptom of a compromised sealed system.
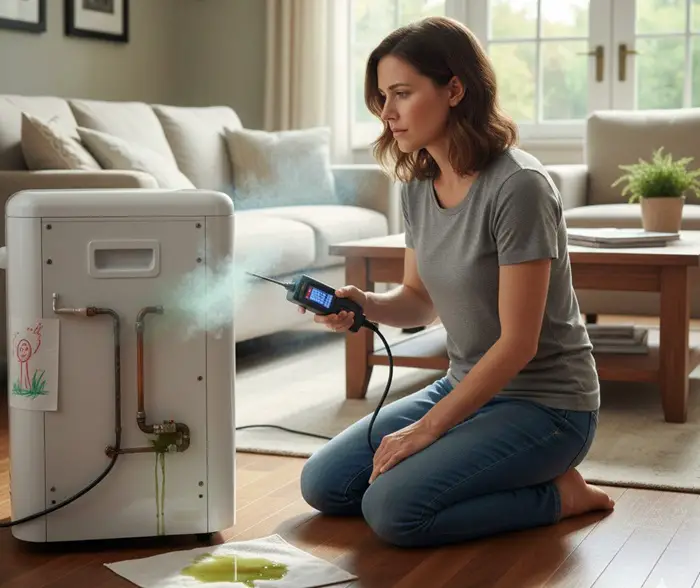
2. Use an Electronic Leak Detector
Electronic refrigerant leak detectors (sniffers) can pick up even tiny concentrations of escaping gas. While the professional-grade models can be pricey, they’re accurate and fast.
Move the detector slowly along coil joints, tubing bends, and around the compressor. If it chirps or alarms—congratulations, you’ve found the suspect area.
Just note: if the system is empty, the detector may not register anything, though it can still help pinpoint where the last trace of refrigerant escaped if used early enough.
3. Try the Soap-and-Water Method
A classic HVAC trick. Mix water with a little dish soap, shake it in a spray bottle, and spray the copper lines, joints, and brazed connections—avoiding all electrical components.
If there’s still some pressure in the system, leaks will form small, bubbling foam patches. It’s crude but surprisingly effective for accessible tubing areas.
4. Notice Any Unusual Odor
Refrigerants are generally odorless, but when they mix with compressor oil or burn off electronic components, they can create faint chemical or musty smells.
Don’t rely on scent alone—it’s the least reliable method—but if something smells “off,” it’s worth digging deeper or calling a technician for a proper diagnosis.
These tests can help you narrow down the issue, but diagnosing a sealed-system leak with certainty often requires professional tools and expertise. If you suspect a leak, it’s wise to let an HVAC technician take it from here.
How to Fix a Leaking Refrigerant in a Dehumidifier Unit?
If you’ve confirmed your dehumidifier is leaking refrigerant (often incorrectly called “Freon”), you’ve officially crossed into refrigeration system failure territory.
Unfortunately, this isn’t a simple tighten-a-screw-and-move-on kind of job.
First, the hard truth: DIY repair is rarely recommended.
Fixing a refrigerant leak requires locating microscopic pinholes, soldering or brazing copper tubing, pulling a deep vacuum, and recharging the system to the correct pressure with EPA-regulated refrigerant.
Unless you moonlight as an HVAC technician—with gauges, vacuum pumps, and leak detectors in your garage—this is not the Sunday project to attempt.
Besides, refrigerants can displace oxygen, cause frostbite burns, and interact badly with electronics.
Your two realistic options are:
Call a qualified technician
A certified HVAC or appliance tech can inspect the coils, identify the leak, repair or replace the affected tubing, vacuum the system, and recharge it to spec.
This makes sense only for higher-end or commercial-grade dehumidifiers, where repair costs are justified by long-term performance and durability.
Replace the dehumidifier unit
For most consumer dehumidifiers—especially budget or mid-range models—repair costs often exceed the price of a brand-new unit.
These machines have thin copper coils and sealed systems not designed for economic repair. Once the refrigerant escapes, the compressor typically overheats and the system’s efficiency plummets, making replacement the practical choice.
When deciding between repair and replacement, consider the unit’s age, price, warranty (some sealed systems carry longer warranties), and overall build quality. A premium unit might deserve a second life; a bargain unit is usually better retired gracefully.
In short: if it’s inexpensive, replace it; if it’s high-end, let a professional revive it—but keep the DIY superhero cape folded for this one.
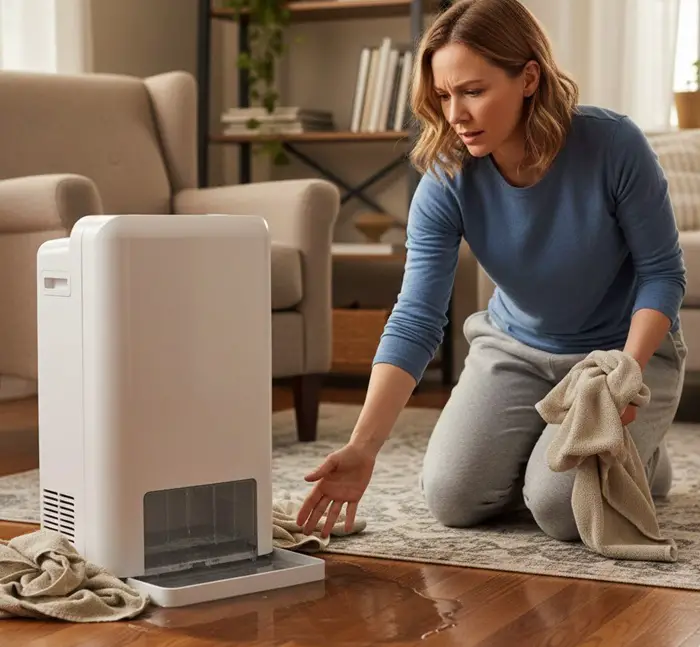
Why is the Dehumidifier Leaking Water Out of the Bottom?
A dehumidifier is supposed to collect water, not leave a puddle on your floor.
When it starts leaking from the bottom, it usually means something in the drainage path has gone wrong—either the water isn’t moving where it should, or the unit is producing more condensation than it can handle.
Below are the most common causes, explained with practical fixes you can try at home.
1. Full or Misaligned Water Bucket
If the collection bucket isn’t seated perfectly, water may hit the edge of the drain channel and spill underneath instead. Even a slight tilt or misalignment can cause leakage.
Fix: Remove the bucket, empty it, and reinstall it firmly until it’s flush with the housing. Ensure no debris is blocking the bucket’s inlet slot.
2. Clogged Drain Hose or Drain Port
When using continuous drainage, dust, sludge, or mineral deposits can block the hose or port, causing water to back up and overflow internally.
Fix: Detach the hose and flush it with warm water. Use a thin brush, pipe cleaner, or vinegar soak to clear the drain port. Ensure the hose slopes downward with no kinks.
3. Frozen Evaporator Coils
If the coils freeze, the melting ice doesn’t drain uniformly—it drips outside the drain pan and leaks from the bottom. Freezing usually happens due to low room temperature, poor airflow, or refrigerant issues.
Fix: Turn off the unit and let it thaw. Clean the filter, improve airflow around the unit, and use it only in spaces above 65°F (18°C). If freezing keeps happening, the refrigerant level may be low.
4. Cracked or Damaged Internal Drain Pan
The internal drain pan catches condensation as it drips from the coils. Over time, the plastic can warp, crack, or develop hairline splits that slowly leak water.
Fix: Inspect with a flashlight. If cracked, the pan usually needs replacing. On many budget models, replacing the entire unit is more cost-effective.
5. Dirty Air Filter Restricting Airflow
A clogged air filter reduces airflow across the evaporator coil, causing excess condensation or partial freezing—both of which lead to water pooling at the bottom.
Fix: Clean or replace the filter every 2–4 weeks. Also, vacuum the intake grille for smoother airflow.
6. Installed on an Uneven Surface
A dehumidifier needs to be level for water to flow properly into the bucket or drain. Even a slight forward tilt can redirect water toward the edges or bottom of the machine.
Fix: Place the unit on a flat, stable, level surface. If anything, a very slight backward tilt helps water flow into the drain channel more efficiently.
7. Malfunctioning Float Switch or Water-Level Sensor
When the float switch sticks or the sensor fails, the unit keeps running even after the bucket is full—leading to overflow from the bottom.
Fix: Remove the bucket and inspect the float mechanism. Clean any residue or debris. If the switch is broken or the sensor is unresponsive, replacement may be required.
If you’ve checked all of the above and your dehumidifier still leaks, the problem may be deeper inside the drainage system or caused by a failing sealed system.
In that case, professional servicing—or replacing the unit—might be the smarter move.
Tips and Preventive Measures to Avoid Future Leaks in a Dehumidifier
A dehumidifier only works well when both its refrigeration system and its water-handling system stay clean, stable, and leak-free.
Whether your concern is refrigerant loss or water dripping from the bottom, a few smart preventive steps can extend the lifespan of your unit and keep it running efficiently—even in demanding spaces like basements or a small bathroom dehumidifier setup.
Here’s how to prevent both types of leaks:
1. Keep the coils clean
Dust and grime trap moisture against the copper tubing, accelerating corrosion (a major cause of pinhole leaks). Clean the coils gently every few months using a soft brush or compressed air. Avoid harsh cleaners that can damage the fins or tubing.
2. Ensure proper ventilation around the unit
Refrigeration systems need airflow to keep pressures stable. Crowding the unit against walls or furniture can cause overheating, raising internal pressure and stressing joints—eventually leading to leaks.
3. Avoid physical impact or rough handling
The refrigerant tubing is thin and easily damaged. Always lift the unit properly, don’t drag it across floors, and avoid dropping it. Even a minor hit can weaken brazed joints.
4. Use the unit within recommended temperatures
Running a dehumidifier in very cold rooms increases the risk of coil freezing. Repeated freeze–thaw cycles weaken tubing and solder points. Stick to the manufacturer’s temperature guidelines (usually above 65°F / 18°C).
5. Clean the air filter and intake grille regularly
Restricted airflow leads to excess condensation or freezing on the evaporator coils. Clean the filter every 2–4 weeks so the water forms normally and drains properly.
6. Keep the drain path clear
Whether you use a bucket or a drain hose, blockages cause overflow. Clean the drain port, hose, and bucket channel periodically. If using a hose, ensure a continuous downward slope without kinks.
7. Place the unit on a level surface
Tilting can cause water to spill over the edges of the drain pan or bucket. Make sure your dehumidifier sits level and stable. A slight backward tilt helps water flow into the drain channel more efficiently.
8. Check the float switch and sensors
A stuck float or faulty sensor prevents the unit from shutting off when the bucket is full. Inspect these components occasionally and clean away dust or mineral buildup.
By combining good airflow, gentle handling, regular cleaning, and keeping the drainage path clear, you can prevent both refrigerant and water leaks—and ensure your dehumidifier runs efficiently for years.
Related FAQs
Can I still use a leaking dehumidifier?
No, you shouldn’t use a dehumidifier that’s leaking—whether it’s refrigerant or water. A refrigerant leak makes the unit ineffective and can damage the compressor, while a water leak can cause electrical hazards, mold growth, or internal corrosion.
Continuing to run it may worsen the problem or create safety risks. Turn off the unit, unplug it, identify the type of leak, and decide whether repair or replacement is the most practical solution.
Can an uneven surface cause my dehumidifier to leak?
Yes, an uneven or tilted surface is a common cause of water leaks in dehumidifiers. If the unit isn’t level, water may spill out of the drain pan or bypass the bucket entirely, dripping out of the bottom. Even a slight forward lean can redirect condensation incorrectly.
Placing the unit on a stable, flat surface—ideally tilted slightly backward—ensures proper drainage and prevents unnecessary leaks or overflow issues.
What should I do if my dehumidifier is making strange noises?
Strange noises usually indicate a problem with the fan, motor, compressor, or loose internal parts. Start by turning off the unit and checking for loose panels, debris in the fan, or a clogged filter restricting airflow.
If the compressor is rattling or buzzing, it may signal internal wear or a failing sealed system. Clean the filter, tighten screws, and reposition the unit. If noises persist, contact a technician, as ongoing mechanical issues can lead to bigger failures.
Final Thoughts
A dehumidifier leaking refrigerant is more than just an inconvenience—it’s a sign that the sealed cooling system has failed somewhere along the line.
Whether the culprit is coil corrosion, physical damage, manufacturing defects, or excessive vibration, the outcome is the same: the unit can no longer cool the evaporator coil properly, and moisture removal drops to nearly zero.
For most homeowners, the smartest approach is to evaluate whether the unit is worth repairing at all.
Budget and mid-range models are usually cheaper to replace than to fix. Higher-end units, though, may justify calling a certified technician to locate the leak, repair the tubing, and recharge the system properly.Ultimately, prevention plays a huge role in avoiding future leaks. Keeping coils clean, maintaining proper airflow, handling the unit carefully, and running it within recommended temperature ranges all help extend the lifespan of the refrigeration system.
And if the issue is water leaking—not refrigerant—regular cleaning, a clear drain path, and correct placement can keep your dehumidifier working smoothly.
Meen Smith is a nurse by profession who loves writing online, spending time with her family and caring for the elderly. She has already worked as an associate editor on various moms, babies, home appliances, kitchen, and healthy living blogs. In her spare time, she also enjoys drawing, reading/writing kindle eBooks and improving her skills a bit.